

Key Takeaways
Option A
Boiling
The high-energy, high-heat method for fast cooking.
Best for: Best for pasta, blanching vegetables, and cooking eggs where speed and a firm texture are the goal.
Option B
Simmering
The low-and-slow approach that builds flavor gently.
Best for: Best for soups, stews, braises, and sauces where depth of flavor and tender texture matter most.
If you're cooking pasta, potatoes, or blanching vegetables
Boiling
Full boiling heat ensures starchy foods cook evenly and quickly without becoming waterlogged. It also sets bright green color in vegetables fast.
If you're making soup, stew, or braised meat
Simmering
Gentle heat extracts flavor from aromatics and connective tissue without toughening proteins or clouding your broth.
If you're cooking dried beans from scratch
Simmering
A sustained simmer (after an initial boil) allows beans to cook through slowly, producing a creamy interior without bursting skins.
If you're reducing a sauce or stock
Simmering
A steady simmer evaporates liquid gradually while concentrating flavors; a full boil risks scorching and uneven reduction.
The Temperature Behind the Technique
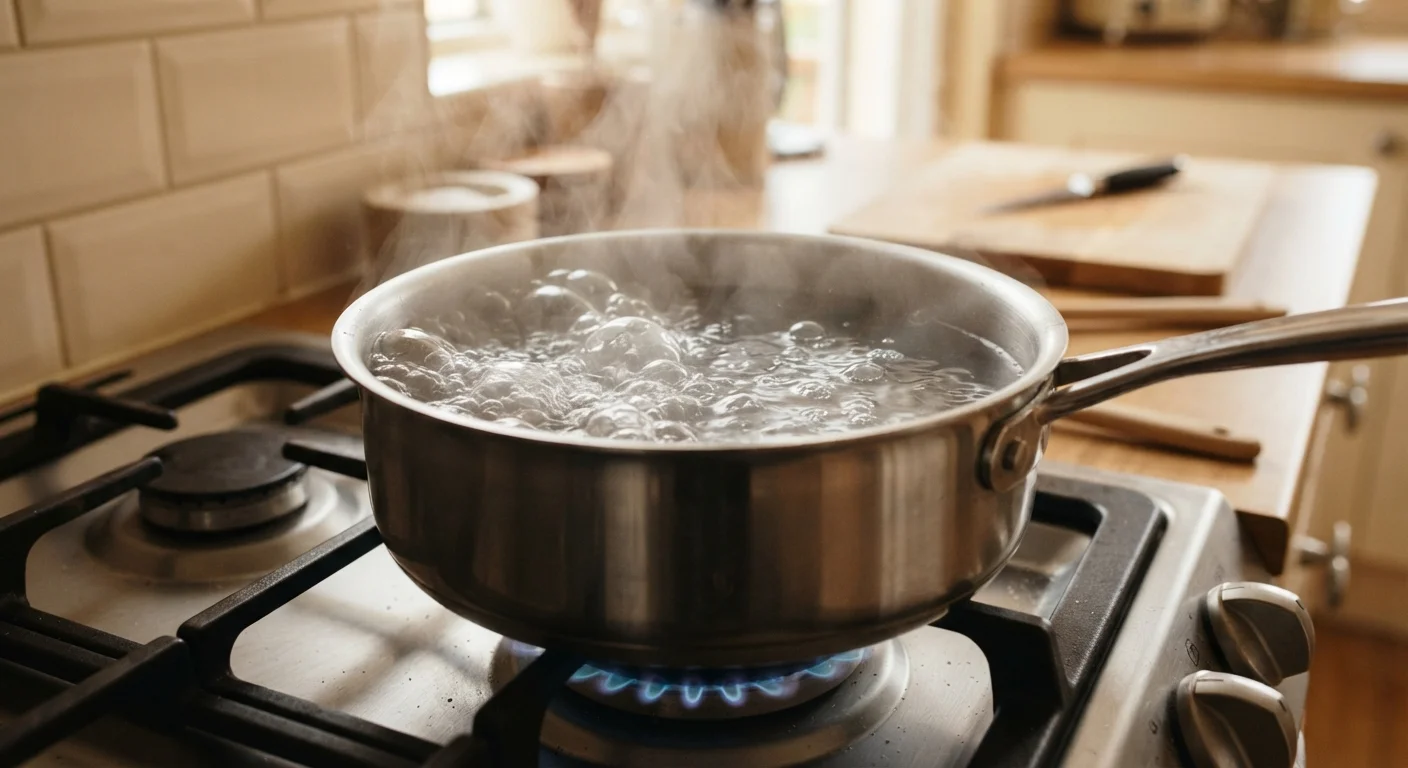
Water boils at 212°F (100°C) at sea level - a point marked by large, churning bubbles that break the surface continuously. Simmering sits below that threshold, typically between 180°F and 200°F, where smaller bubbles rise steadily but the water never reaches a full rolling state. That roughly 12-30 degree gap may sound minor, but it produces meaningfully different results in your food.
These aren't just textbook definitions. They're practical guides for every pot you put on the stove. If a recipe says to bring your broth to a boil and then reduce to a simmer, it's asking you to use both techniques in sequence - and skipping either step changes what ends up on your plate. For a broader look at how heat type shapes food, see how moist and dry heat methods compare.
| Criterion | Boiling | Simmering |
|---|---|---|
| Temperature range | 212°F (100°C) at sea level | 180-200°F (82-93°C) |
| Bubble appearance | Large, continuous, vigorous | Small, steady, gentle |
| Best for | Pasta, blanching, eggs | Soups, stews, braises, sauces |
| Effect on proteins | Can toughen and dry out | Keeps tender and moist |
| Effect on flavor | Less development over time | Builds depth and complexity |
| Speed | Faster cooking | Slower, more controlled |
| Stock/broth clarity | Produces cloudy liquid | Keeps liquid clear |
When to Boil - and When It Goes Wrong
Boiling is powerful and purposeful. It's the right choice for pasta, which needs agitated, well-salted water to cook evenly and develop the right bite. It works well for hard-boiled eggs, potatoes, and blanching green vegetables - a quick dip in boiling water followed by an ice bath sets color and softens texture without losing crunch.
Where boiling causes problems is with proteins and long-cooked dishes. Drop chicken breasts or fish into a hard boil and the rapid, intense heat contracts muscle fibers quickly, pushing out moisture and producing a rubbery, dry result. The same applies to stocks: a full boil agitates the fat and collagen in bones, creating a cloudy, greasy liquid instead of the clear, clean broth a simmer would yield. Understanding this distinction is part of what common cooking terms decoded covers in plain language.
~30°F
Temperature gap between boiling and simmering
The difference between 180°F and 212°F is enough to dramatically change how proteins cook and how flavors develop in a dish.
2-4 hrs
Typical simmer time for collagen-rich cuts
Connective tissue in cuts like beef chuck or pork shoulder generally needs several hours at a low simmer to fully convert to gelatin.
Why Simmering Is the Secret to Better Soups and Stews
Most of the slow-cooked dishes people love most - chili, beef stew, chicken soup, tomato sauce - rely entirely on a sustained simmer. The lower temperature gives collagen in connective tissue time to convert to gelatin, which is what makes a braised dish feel rich and silky rather than chewy. It also allows aromatics like onion, garlic, and herbs to release their flavor gradually into the surrounding liquid without burning or turning bitter.
For stocks and broths, a simmer is non-negotiable. Keeping the liquid just below boiling draws gelatin and flavor from bones over several hours while keeping the liquid clear. If you want to understand the difference between stock, broth, and bouillon and how each is used, this guide to stock, broth, and bouillon breaks it down clearly.
Altitude Changes the Boiling Point
At higher elevations, atmospheric pressure drops and water boils at a lower temperature - around 202°F at 5,000 feet above sea level, for example. This means pasta and vegetables may take longer to cook through than recipes written at sea level suggest. If you live or cook at altitude, this is worth keeping in mind when timing your dishes.
Reading the Pot: Visual Cues Every Cook Should Know
You don't need a thermometer to tell boiling from simmering - your eyes are enough. A full rolling boil produces large, vigorous bubbles across the entire surface that can't be stirred down. A simmer shows small, steady bubbles rising from the bottom, with occasional larger ones breaking the surface - sometimes described as the water "smiling." A sub-simmer (around 160-180°F) barely moves, with wisps of steam and only the occasional bubble - useful for poaching delicate fish or eggs.
When your recipe says "reduce to a simmer," turn the heat to medium-low and wait. The liquid should settle into that steady, gentle rhythm within a minute or two. If bubbles are still churning aggressively, the heat is still too high. Getting comfortable reading these visual signals is one of the most transferable skills in cooking - it carries over whether you're making a sauce, a grain, or a legume. It also connects naturally to other stovetop fundamentals, like knowing when to sauté versus stir-fry.