

Key Takeaways
Nominal vs. Actual Lumber Size
When lumber is labeled "2x4," those numbers describe its nominal size - the rough dimensions before the board is dried and planed smooth at the mill. The actual size you'll hold in your hands is smaller: a standard 2x4 measures 1½ inches by 3½ inches. This gap between the label and the real measurement trips up nearly every first-time DIYer who's never been warned about it.
Nominal dimensions are an industry convention standardized by the American Lumber Standard Committee (ALSC); actual sizes are consistent across major U.S. suppliers for a given species and grade.
The Gap Between the Label and What You Actually Get
Walk into any home center and grab a board labeled "2x4." You'll notice something right away once you hold a tape measure to it: it isn't 2 inches thick or 4 inches wide. It's 1½" × 3½". That difference isn't a mistake - it's an industry-wide convention that every beginner needs to understand before buying a single board.
Here's a quick reference for the actual dimensions of common lumber sizes:
| Nominal Size | Actual Size |
|---|---|
| 1×2 | ¾" × 1½" |
| 1×4 | ¾" × 3½" |
| 1×6 | ¾" × 5½" |
| 2×4 | 1½" × 3½" |
| 2×6 | 1½" × 5½" |
| 4×4 | 3½" × 3½" |
Always sketch your project using actual dimensions. If you design a bookshelf around nominal sizes, every shelf will be off, and gaps will appear where joints should be flush. For more on structural concepts that depend on these real-world sizes, see our guide to structural facts homeowners should know.
~25%
Size reduction from nominal to actual for a 2×4
A 2×4's cross-section goes from a nominal 8 square inches to an actual 5.25 square inches - roughly a 34% reduction in cross-sectional area after milling and drying.
16"
Standard stud spacing in U.S. wood-frame construction
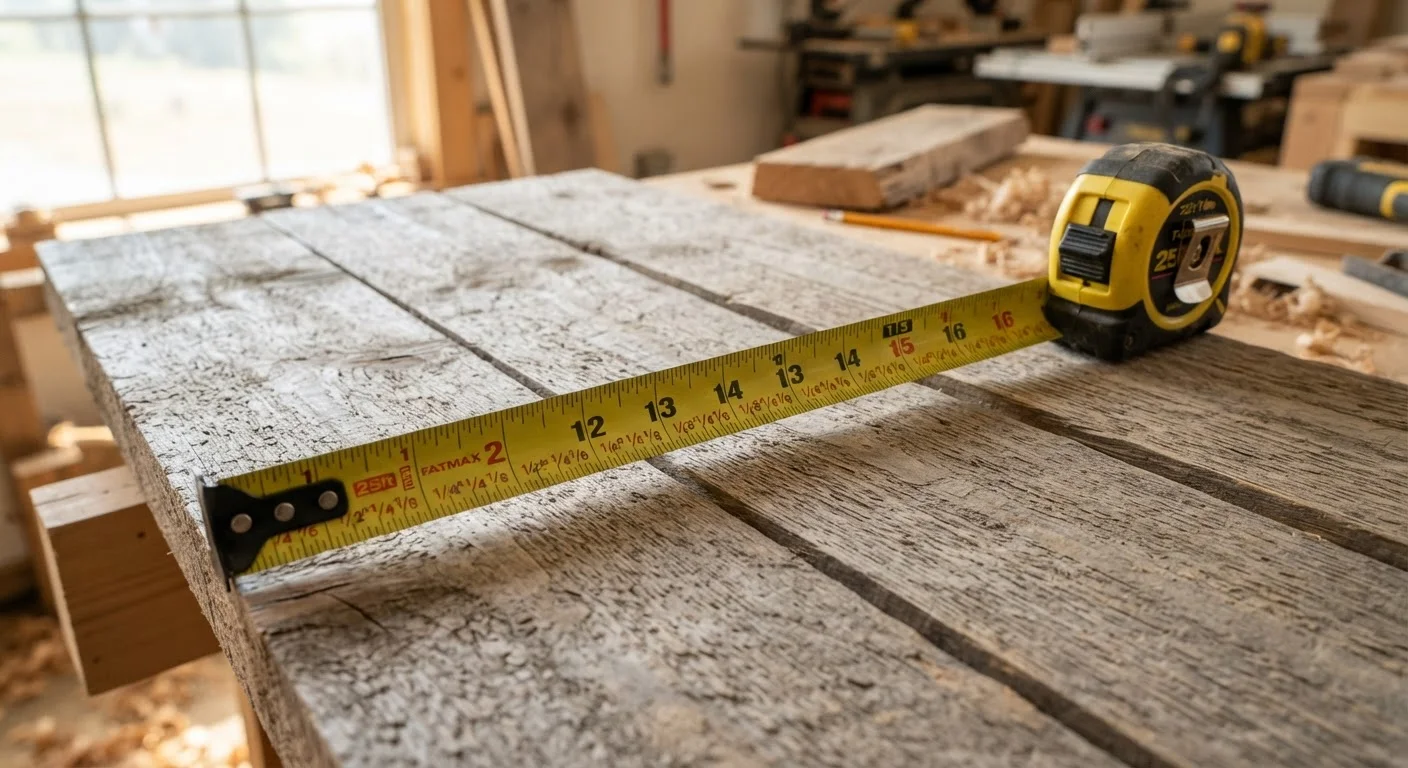
The 16-inch on-center standard is reflected directly on most tape measures with black marks or triangles, making stud layout a built-in feature of the tool.
1/16"
Smallest common tape measure increment
Most standard construction tape measures divide each inch into 16 equal parts, sufficient for the tolerances required in typical carpentry and framing work.
Reading a Tape Measure Without Guessing
A standard tape measure divides each inch into progressively smaller fractions using a hierarchy of line lengths. Once you learn the system, you can read any marking confidently:
- Longest line (½") - splits the inch exactly in half
- Medium lines (¼" and ¾") - appear between the inch mark and the ½" line
- Shorter lines (⅛" increments) - divide each quarter into two
- Shortest lines (1/16" increments) - the finest common markings on most tape measures
The rule of thumb: the shorter the line, the smaller the fraction. Start by counting the number of lines between two inch marks - most tapes show 15 lines (dividing the inch into 16 equal parts). To read a measurement, count how many of those tiny segments your measurement point falls past the last whole inch mark.
Burn an Inch for More Accurate Measurements
The metal hook at the end of your tape measure can shift slightly, causing tiny inaccuracies when hooking over a board edge. For precision cuts, start your measurement at the 1-inch mark instead of the end - then subtract 1 inch from your total. Carpenters call this "burning an inch," and it eliminates hook-slop error on critical measurements.
The black stud-mark triangles that repeat every 16 inches correspond to standard wall stud spacing (16 inches on center). The red diamonds every 19.2 inches indicate spacing for engineered floor joists across an 8-foot span. These aren't decorative - they're built-in layout shortcuts that experienced carpenters use daily.
Three Other Fundamentals Beginners Often Overlook
Lumber sizes and tape markings aren't the only things that catch new DIYers off guard. Here are three more basics worth understanding before your first project:
Plywood is also thinner than labeled
A sheet sold as ¾" plywood typically measures closer to 23/32" (about 0.719"). This matters when building cabinets or fitting panels into frames sized around a true ¾" dimension.
"Square" means 90 degrees - and you need to check it
When carpenters say something is "square," they mean its corners form true 90-degree angles. Walls, floors, and rooms in real homes are rarely perfectly square. Before cutting any piece to fit, measure diagonals: on a rectangle, equal diagonals confirm square corners. Ignoring this is how gaps appear at baseboards and shelves end up visibly crooked.
Grain direction changes how wood behaves
Wood expands and contracts primarily across the grain (its width), not along it. Ignoring grain direction when joining boards - like in a tabletop - leads to cracking and warping over time as humidity changes. For most beginner projects, simply be aware that solid wood moves, and design joints that allow for it.
Getting these basics right is the foundation of every repair and renovation. Once they click, you'll find that practical home repair guides make far more sense. And if you're ever uncertain whether a job is within reach, it helps to know which repairs homeowners commonly overestimate their ability to handle before you begin.