

Key Takeaways
Understanding the Damage Before You Start
Not all drywall damage is created equal, and choosing the wrong fix is the most common beginner mistake. Before you open any compound, categorize what you're dealing with:
- Nail pops and hairline cracks: Less than ¼ inch. These respond well to a single application of lightweight spackle.
- Small holes (¼ inch to 4 inches): Door handle dings, anchor screw blowouts. Require a self-adhesive mesh patch or a California patch (using drywall itself as backing).
- Large holes (4 inches and up): These need a cut-in drywall section supported by wood backing or a manufactured clip system.
Also look for signs of moisture - soft, discolored, or crumbling drywall indicates a water problem that must be fixed at the source before any cosmetic repair. If you see mold or sagging, consult a professional before proceeding.
If you're new to home repair generally, a practical introduction to home repairs covers which skills are worth building first.
What you will need
How to Patch: Step-by-Step
Follow these steps based on your damage size. The tools and materials you'll need are listed above.
Prepare the Damaged Area
Remove any loose paper facing, crumbling gypsum, or protruding drywall screws. For nail pops, drive the existing nail deeper with a hammer and drive a new drywall screw 2 inches above and below it to re-secure the panel. Wipe the area clean with a dry cloth.
Choose and Apply the Right Patch Method
For hairline cracks and nail pops: Apply lightweight spackle directly with a 3- or 4-inch putty knife, pressing firmly to fill the void. Smooth level with the wall surface.
For holes up to 4 inches: Center a self-adhesive mesh patch over the hole and press firmly. Apply joint compound over the mesh with a 6-inch knife, feathering 2-3 inches beyond the patch edges. The mesh gives the compound something to grip.
For holes larger than 4 inches: Use a drywall saw to cut the damaged area into a clean rectangle. Cut two wood furring strips slightly longer than the hole height and screw them inside the wall along each side edge. Cut a matching drywall piece, insert, and screw it to the furring strips. Tape the seams with paper drywall tape, then apply joint compound over the tape.
Apply the First Coat of Joint Compound
Load your 6-inch knife and spread joint compound in smooth, overlapping strokes. Press hard enough to work compound into the surface without leaving ridges. The first coat will be thicker; that is expected. Feather the edges outward so there is no sharp lip where compound meets wall.
Sand, Then Apply Additional Coats
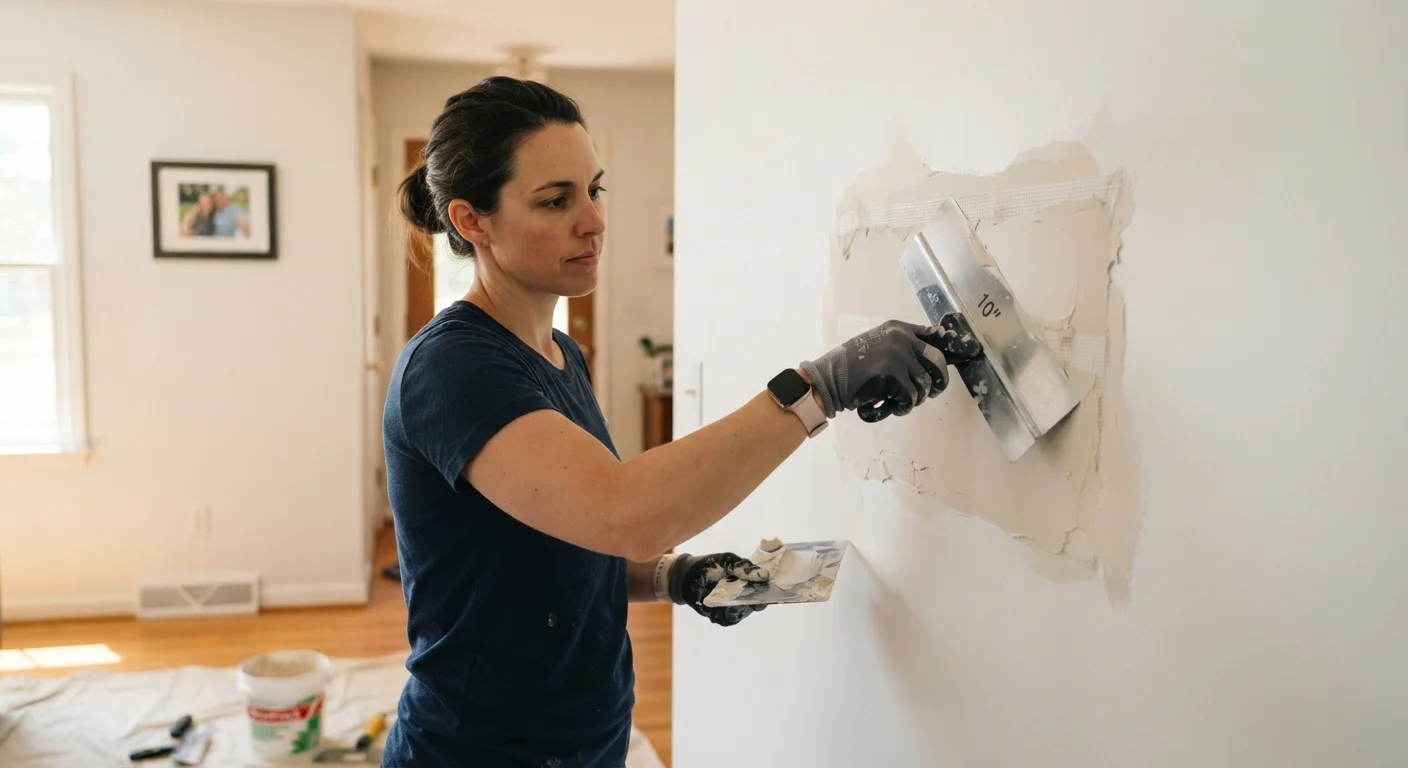
Allow the first coat to dry completely - the compound will change from off-white to bright white when fully cured. Sand lightly with 120-grit sandpaper to knock down ridges, then wipe away all dust. Apply a second coat with a 10-inch knife, extending coverage 2-3 inches beyond the first coat. Repeat the process for a third coat if needed, finishing with a 220-grit sanding pass.
Prime and Inspect
Apply one coat of drywall primer to the repaired area and let it dry fully. After priming, use a work light held at a low angle to the wall - raking light reveals any depressions or ridges invisible under normal lighting. Touch up with a thin skim coat if needed, sand, and prime again before painting.
Match Your Compound to Your Timeline
Lightweight all-purpose joint compound works well for most homeowners because it sands easily and shrinks less than traditional compound. If you're in a hurry, setting-type compound (sold as a powder you mix with water) hardens chemically in as little as 20 minutes - but it cannot be softened once set, so work quickly and in small batches.
Once your repair is smooth and primed, a clean paint application is what makes it truly disappear. See how surface prep affects your paint job to finish the job right.
Getting a Smooth, Paintable Finish
The difference between a visible patch and an invisible one almost always comes down to finishing technique - not the size of the hole.
Sand between coats. Once the first coat of joint compound is dry (typically 24 hours, though fast-dry formulas vary - check the label), lightly sand with 120-grit sandpaper and remove all dust with a damp cloth before applying the next coat. Plan for two to three coats total.
Feather wide. Each successive coat should extend a few inches beyond the previous one. A 6-inch knife for the first coat, a 10- or 12-inch knife for the final coat creates a gradual transition that is nearly impossible to detect once painted.
Prime before you paint. Joint compound is porous. Without primer, the repaired area absorbs paint differently from the surrounding wall, leaving a dull "flashing" spot even through multiple finish coats. One coat of drywall primer seals the repair.
Don't Skip the Primer
Painting directly over joint compound - even with a paint-and-primer-in-one product - frequently produces "flashing," where the patch appears dull or a different sheen compared to the surrounding wall. A dedicated drywall primer is the reliable solution. It costs little and saves a significant amount of repainting effort.
Unsure which patching compound to use? wood filler vs. spackle breaks down when each product is the right choice.