

Key Takeaways
Why Prep Work Determines Your Paint Job's Fate
Most homeowners focus on choosing the right color or finish, but professional painters will tell you the same thing every time: the paint is only as good as the surface it goes on. Dust, grease, old caulk, nail pops, and uneven texture all telegraph through even premium paint - sometimes immediately, sometimes after the first humid summer.
Interior painting is genuinely a project most homeowners can handle confidently. Before you pick up a roller, though, it pays to walk through the prep sequence that professionals never cut short. Our pre-project safety checklist is also worth reviewing before you begin any room-scale repair task.
80%
Of paint failures linked to poor surface prep
Industry painting trade sources consistently attribute the majority of premature paint failures - peeling, cracking, flashing - to inadequate surface preparation rather than paint quality.
2-3x
Longer-lasting finish with proper priming
Priming before topcoating, particularly on patched or porous drywall, is widely cited by professional painters as the single biggest factor in extending the life of an interior paint job.
Best Practices for Preparing Interior Walls
Follow these proven steps in order. Each one builds on the last, and skipping any of them typically shows up in the finished result.
Clean every wall surface before doing anything else
Paint won't bond to grease, dust, or cleaning product residue. Even walls that look clean often carry an invisible film - especially in kitchens, bathrooms, or high-traffic hallways. Skipping this step is the most common reason paint peels prematurely.
Repair all damage before sanding or priming
Paint is a coating, not a filler. Nail holes, cracks, and dings remain visible under even multiple coats of paint if they aren't patched first. Addressing them early keeps the surface flat and prevents the need to repaint within months.
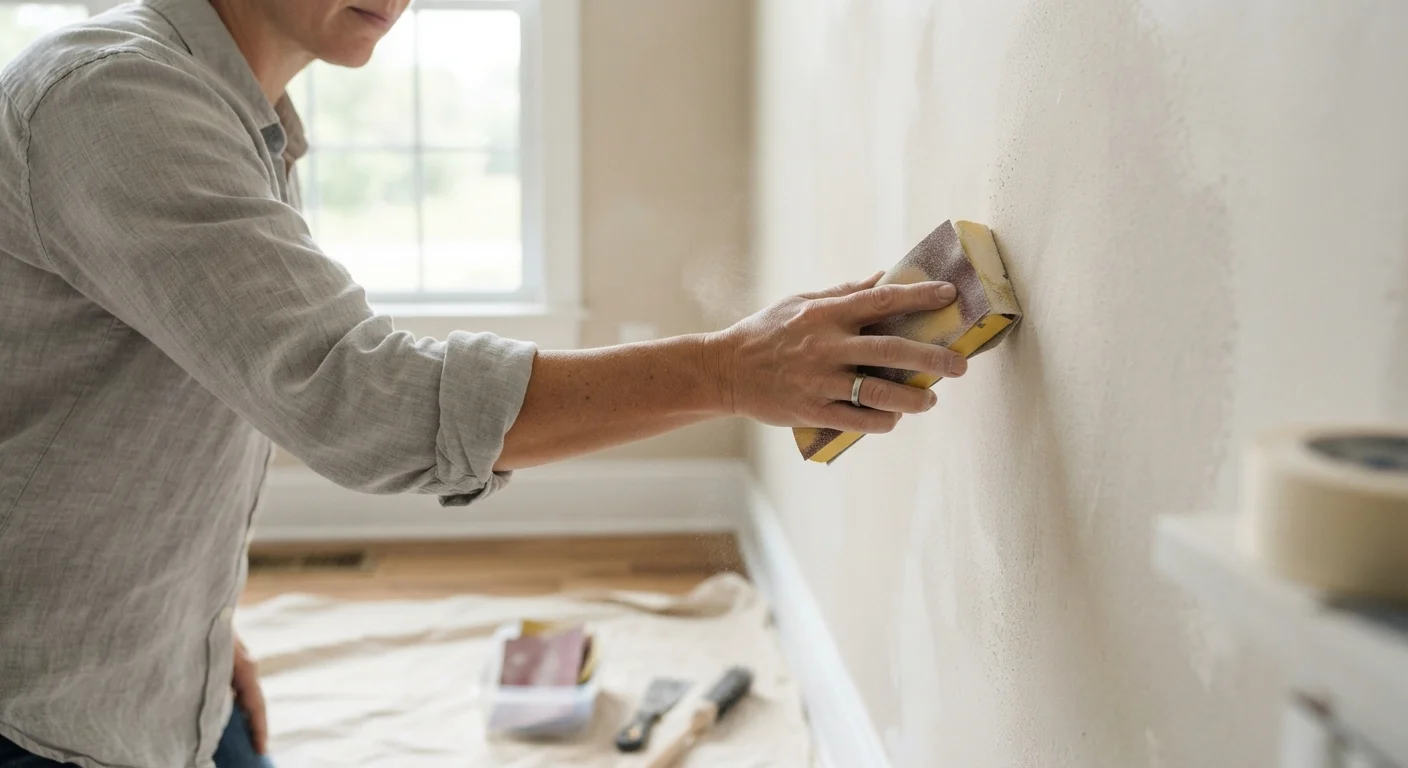
Sand patched areas and any glossy surfaces before painting
Smooth patches need light sanding (120-150 grit) so primer can grip them. Glossy paint or enamel - like on trim or walls with semi-gloss finishes - must also be scuff-sanded, or new paint won't adhere and will chip quickly.
Apply primer to patched areas, bare drywall, and stained spots
Primer seals porous surfaces, blocks stains from bleeding through, and creates a uniform base so the topcoat looks consistent. Without it, patched areas often appear as dull spots (a problem called flashing) even after multiple paint coats.
Tape, mask, and protect surfaces before the first coat
Painter's tape applied carefully along trim, ceilings, and outlets prevents cleanup headaches and keeps edges clean. Protective drop cloths reduce the risk of permanent floor or furniture damage from drips.
Quick Wins You Can Do Before the Weekend Project
Not every prep step requires a full day. Several high-impact tasks take less than an hour and dramatically improve how your paint job turns out.
Priming: The Step Most DIYers Skip
Primer isn't just a base coat - it's a bonding agent, stain blocker, and sheen equalizer rolled into one product. Bare drywall, patched spots, and stained surfaces all behave differently under paint because they absorb moisture at different rates. Without primer, those variations create a blotchy, uneven finish called flashing.
Choosing the Right Primer for Your Wall
For most standard interior walls being repainted in a similar color, a water-based (latex) primer works well and dries quickly. If you're covering a bold dark color, look for a high-hide primer to reduce the number of topcoats needed. For kitchens and bathrooms, a mold-resistant primer is worth the modest extra cost. Always let primer dry fully - check the product label for cure time - before applying paint.
If you've recently completed drywall repairs, primer is non-negotiable. You can learn more about getting patches smooth and paint-ready in our drywall patching guide. For rooms where staining is a concern - kitchens, bathrooms, or rooms with smoke damage - a shellac-based or oil-based primer provides better stain isolation than standard latex primer.
“The difference between a paint job that lasts two years and one that lasts ten is almost never the paint. It's what happened to the wall before the first coat went on.”
— Painting Contractors Association, Trade organization representing professional painting contractors across the United States
Planning an interior painting project as part of a broader seasonal refresh? Our guide to fall home prep covers interior and exterior tasks worth bundling together before winter arrives.