

Home Improvements

Before You Start Any Home Repair: A Pre-Project Safety Checklist

Share
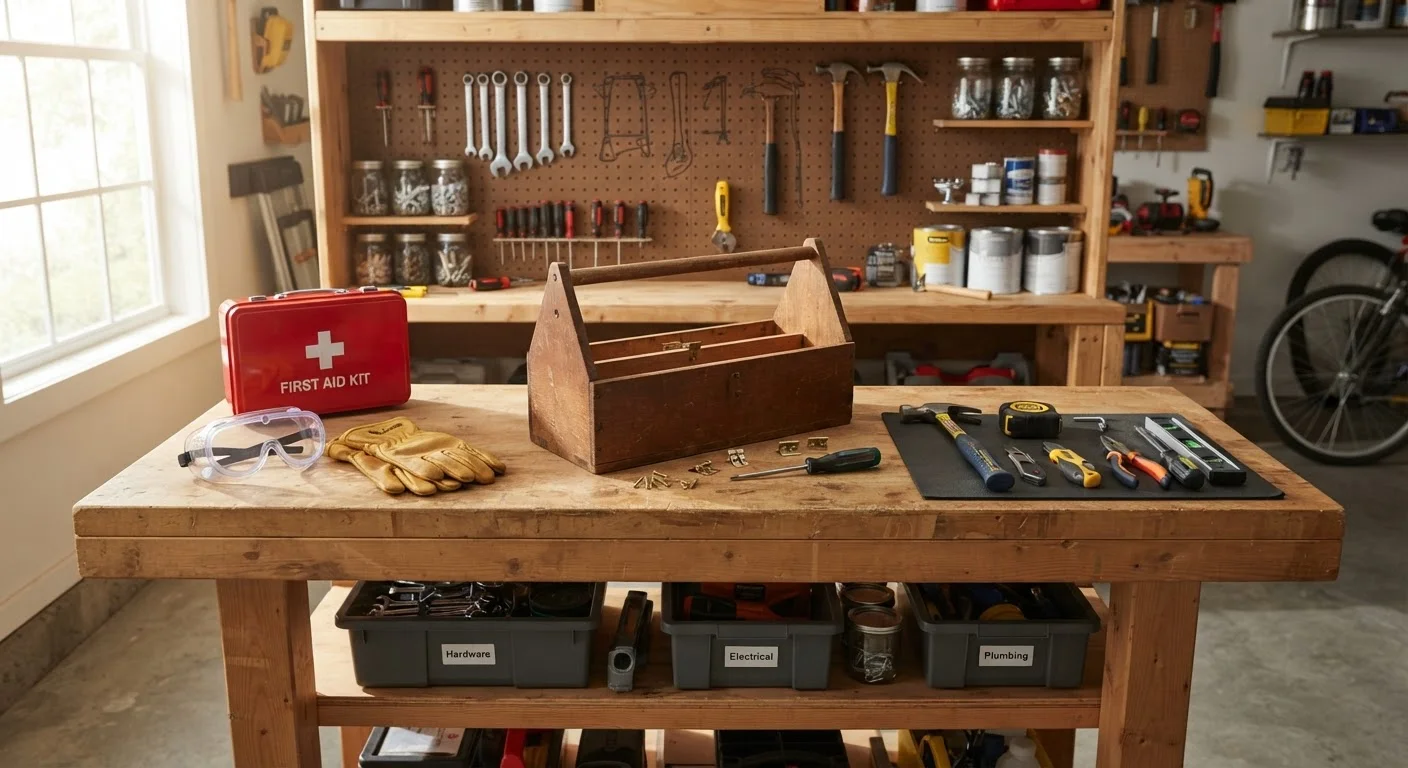
Organized workbench with safety gear including gloves, goggles, and first-aid kit before a home repair project

Key Takeaways

Most DIY injuries happen before the actual work begins — during rushed, unprepared starts.
Confirming whether a permit is required can save you from costly code violations down the road.
Shutting off the right utilities before starting is a non-negotiable step for any repair near electrical, gas, or plumbing systems.
Wearing the correct personal protective equipment (PPE) for the specific task dramatically reduces injury risk.
Knowing when to stop and call a licensed professional is itself a critical safety skill.
20–45 min

Summary

22 items · 20–45 minutes

Why a Pre-Project Checklist Actually Matters

Most home repair mishaps don't happen because someone lacks skill — they happen because someone skipped the setup. A leaky pipe under pressure, a live wire that wasn't shut off, or a repair attempted without proper supports can turn a routine fix into an emergency. This checklist is designed to slow you down just enough to stay safe and set your project up for success.

Whether you're patching drywall, replacing a faucet, or tackling a more involved project, the same foundational questions apply. This checklist works alongside resources like renovation basics and home maintenance guides to give you a complete pre-work picture.

Keep in mind that some repairs — particularly those involving electrical panels, gas lines, load-bearing structures, or roof framing — carry risks that go beyond what most homeowners should handle alone. See DIY repairs homeowners commonly overestimate for a candid look at where that line typically falls.

Scope and Permit Check

Define exactly what the repair involves — write out the start point and end point so scope creep doesn't catch you off guard mid-project. Must
Research whether your repair requires a permit from your local building department before starting any work. Must
Confirm whether your repair affects any shared walls, structural elements, or systems that could impact neighboring units or your HOA rules. Should
Review your homeowner's insurance policy to understand whether a DIY repair gone wrong would affect your coverage. Nice to have

Utility and Hazard Assessment

Locate and shut off the relevant utility (water, electricity, or gas) at the source before beginning any work near those systems. Must
Test that power is actually off using a non-contact voltage tester before touching any wiring — never rely solely on flipping a breaker. Must
Check for lead paint if your home was built before 1978; disturbing lead-containing surfaces requires specific containment and disposal steps. Must
Inspect the work area for asbestos-containing materials (common in older insulation, floor tiles, and popcorn ceilings) before sanding, cutting, or demolishing. Must
Identify the location of gas lines and water supply lines near the repair zone before drilling, cutting, or nailing into walls or floors. Must

Personal Protective Equipment (PPE)

Select and put on eye protection appropriate to the task — safety glasses for general work, goggles for chemical or grinding work. Must
Wear work gloves rated for the specific hazards involved, whether that's sharp edges, chemicals, or heat. Must
Use hearing protection when operating loud power tools for more than a few minutes at a stretch. Should
Put on an N95 respirator or better when working with drywall dust, insulation, old paint, or chemical finishes. Should
Wear slip-resistant, closed-toe footwear — no sandals or socks-only on any project site. Must

Workspace and Equipment Readiness

Clear the work area of tripping hazards and ensure adequate lighting before you bring any tools in. Must
Inspect ladders for damage and confirm the weight rating exceeds your body weight plus tools before climbing. Must
Verify that all power tools are in good working order and that blades, bits, and attachments are properly secured. Must
Ensure adequate ventilation in the workspace when working with adhesives, paints, stains, or other chemical products. Should
Keep a first-aid kit stocked and accessible within the work area before starting. Should
Let another household member know you are starting the project and give a rough expected duration. Nice to have
Have your local non-emergency services or a licensed plumber/electrician's number accessible in case the repair reveals a larger problem. Should

Tools, Permits, and Knowing Your Limits

Having the right tools on hand before you start isn't just about convenience — it prevents mid-project improvisation, which is when many injuries occur. A makeshift ladder substitute or a wrong-sized wrench used with excessive force are classic injury scenarios that the right prep eliminates.

Required

Non-contact voltage tester

Confirms a circuit is de-energized before touching any wiring — a critical safety step for any electrical-adjacent work.

Required

First-aid kit

Provides immediate response supplies for minor cuts, abrasions, or burns that can occur during any repair task.

Required

Personal protective equipment set (gloves, safety glasses, respirator)

Protects eyes, hands, and lungs from the specific hazards of your repair task.

Required

Stud finder

Locates wall studs and, on models with multi-scan capability, helps identify hidden electrical conduit or plumbing before cutting.

Required

Work light or headlamp

Ensures adequate visibility inside cabinets, crawl spaces, attics, or dim work areas where ceiling lights aren't sufficient.

Optional

Painter's tape and drop cloths

Protects surrounding surfaces and contains dust or debris to simplify cleanup and prevent damage to finishes.

Permits are another area homeowners often skip to save time, only to encounter bigger problems at resale or during an insurance claim. As a general rule, any structural, electrical, plumbing, or HVAC work may require a permit in your jurisdiction. Contact your local building department to confirm before you begin — requirements vary significantly by city and county.

Unpermitted Work Can Cost You More Later

Completing work without a required permit can result in fines, forced removal of completed work, or complications when you sell your home. Insurance claims related to unpermitted repairs may also be denied. When in doubt, a quick call to your local building department takes minutes and can save significant expense.

Never Assume a Breaker Means No Power

Circuit labeling in older homes is often inaccurate. Always use a non-contact voltage tester to independently confirm that a circuit is dead before working near wiring. This applies even if the breaker is labeled and switched off.

If after running through this checklist you're still uncertain about any aspect of the job, that hesitation is worth listening to. How to decide what you should actually tackle yourself offers a practical framework for that decision. And for a balanced perspective on when DIY makes sense at all, the real pros and cons of doing home repairs yourself is worth a read before you commit.

Home Improvements Editorial Team is the collective byline for our editorial team and contributor network. Articles published under this byline or an editorial pen name are researched, written, and reviewed according to our editorial standards for clarity, consistency, and independence before publication.

View all articles by Home Improvements Editorial Team →
Disclaimer: The content on this site is for informational purposes only and is not a substitute for professional advice. Always consult a qualified professional for guidance specific to your situation.