

Key Takeaways
Why Caulk Fails: It's Almost Always Prep
Caulk is one of the most underestimated tools in home maintenance. A single tube can seal out moisture, prevent drafts, and protect tile edges - but only when it's applied correctly. If you've recaulked a tub or window and watched it crack or peel within months, the caulk itself is rarely to blame.
The real culprits are almost always the steps that come before the caulk gun ever comes out: surface prep, old caulk removal, and product selection. Understanding these failure points is what separates a repair that holds for years from one that looks bad by next season.
This also connects to adjacent maintenance work. If you're refreshing a tiled bathroom, for example, check out our guide on common grout mistakes - many of the same prep principles apply.
Applying caulk over an unwashed or oily surface.
Why it happens: Homeowners often wipe down the area with a cloth and assume it's clean enough. Soap scum, silicone residue, mold release agents, and body oils create an invisible barrier that prevents adhesion.
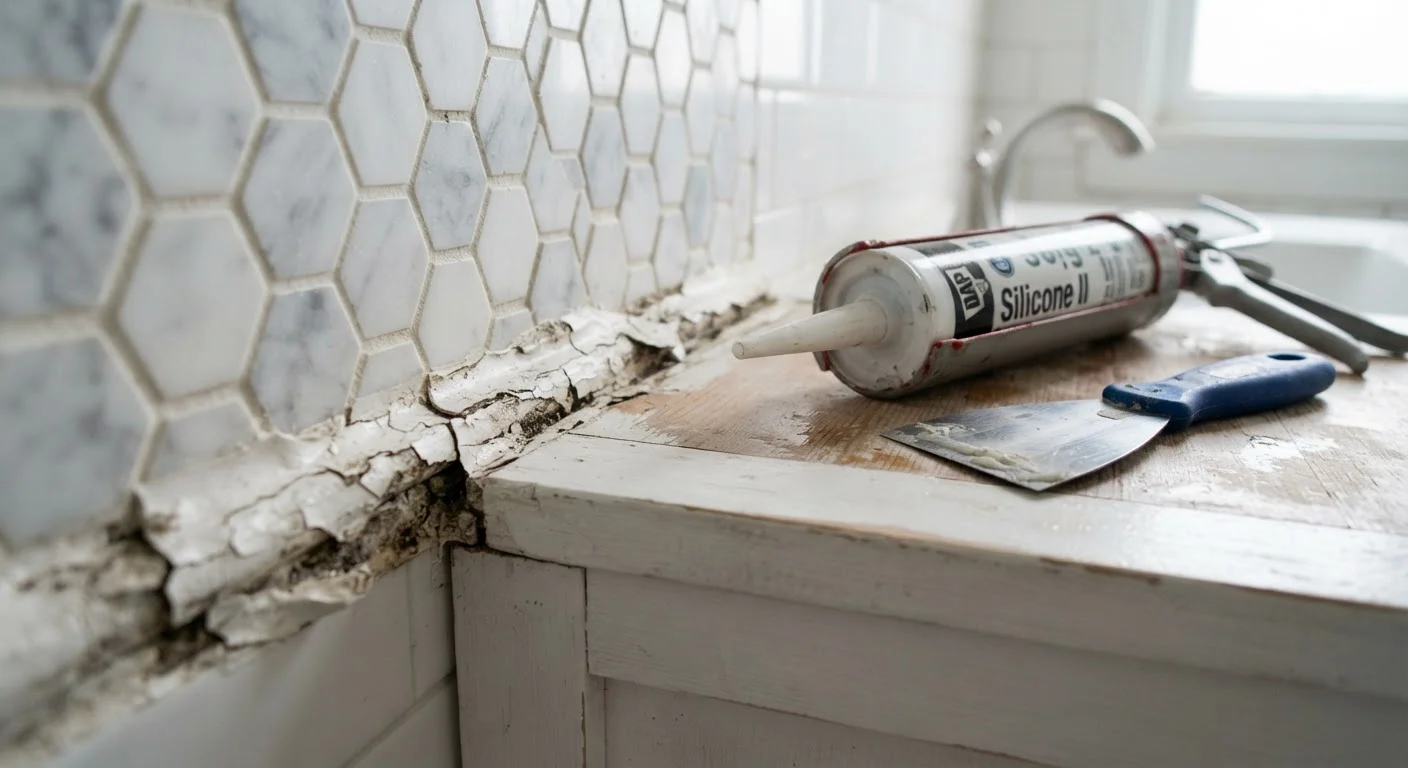
Skipping the step of fully removing old caulk.
Why it happens: Removing old caulk is tedious, so many homeowners apply a fresh bead right on top, assuming more caulk means better sealing.
Using the wrong type of caulk for the location.
Why it happens: Caulk is often purchased by price or convenience rather than by matching the product to the application. A paintable latex caulk used in a high-moisture shower will degrade far faster than a mold-resistant silicone blend designed for wet areas.
Cutting the caulk tube tip too wide or at the wrong angle.
Why it happens: A larger opening seems to make filling gaps easier, but it produces an oversized bead that's difficult to tool and prone to cracking as it cures and shrinks.
Not tooling the bead after application.
Why it happens: Many people believe simply laying down a straight bead is enough. Without tooling, air pockets can form underneath and the caulk doesn't make full contact with both surfaces.
Caulking a joint that is actively moving or under tension.
Why it happens: Some joints - like where a bathtub meets tile - shift slightly under the weight of water when the tub is full. If caulk is applied with the tub empty, it may crack as soon as the tub flexes under load.
Getting It Right: Application Technique and Product Choice
Once the surface is clean and the old caulk is fully removed, the application stage has its own set of variables that affect how long your work holds up.
Moisture Before Curing Will Ruin the Bond
Most bathroom and kitchen caulks require 24 to 48 hours of dry cure time before water exposure. Running water or steam too soon can prevent proper adhesion and cause the caulk to peel away from the surface within weeks. Check the product's cure time on the label and plan accordingly - don't rush a shower caulk job the night before guests arrive.
Product selection deserves more attention than most homeowners give it. Silicone caulk offers superior flexibility and moisture resistance, making it the right choice for showers, tubs, sinks, and other wet zones. Paintable acrylic latex caulk is better suited to interior trim, crown molding, and window casings where you'll need to paint over it. Using latex where silicone is needed - or vice versa - shortens the repair's lifespan regardless of how carefully it's applied.
For exterior applications like sealing gaps around window frames or doors, look for caulks specifically rated for outdoor exposure and temperature swings. You can learn more about where these sealing decisions really matter in our overview of caulking and weatherstripping for drafts.
If water intrusion around fixtures is part of a bigger picture - like a leaky faucet contributing to moisture damage - it's worth diagnosing the full scope of the issue. Our piece on what a dripping faucet is really telling you can help you separate a sealing problem from a plumbing one.
~$5-$15
Typical cost of a quality caulk tube
Most household caulk jobs require just one tube, making it one of the most cost-effective home maintenance tasks available.
5-10 years
Expected lifespan of properly applied silicone caulk
According to general industry guidance, high-quality silicone caulk applied to a properly prepared surface can last a decade before needing replacement.
Done carefully, recaulking is a straightforward DIY task that delivers real protection. The key is resisting the temptation to rush - especially on the prep work.